If you already know who you want to room with, you can create a roommate group and invite others to join. Roommate groups allow students to select their living arrangements together during the room selection process.
Access Roommate Options
Log in to your school’s resident portal using the URL provided by your housing department.
Navigate to Applications from the navigation bar.

Select the application for which you’d like to create a roommate group.

Click Roommates to access the roommate group settings.

Note: Roommate selection is only available during the roommate selection period defined by your school.
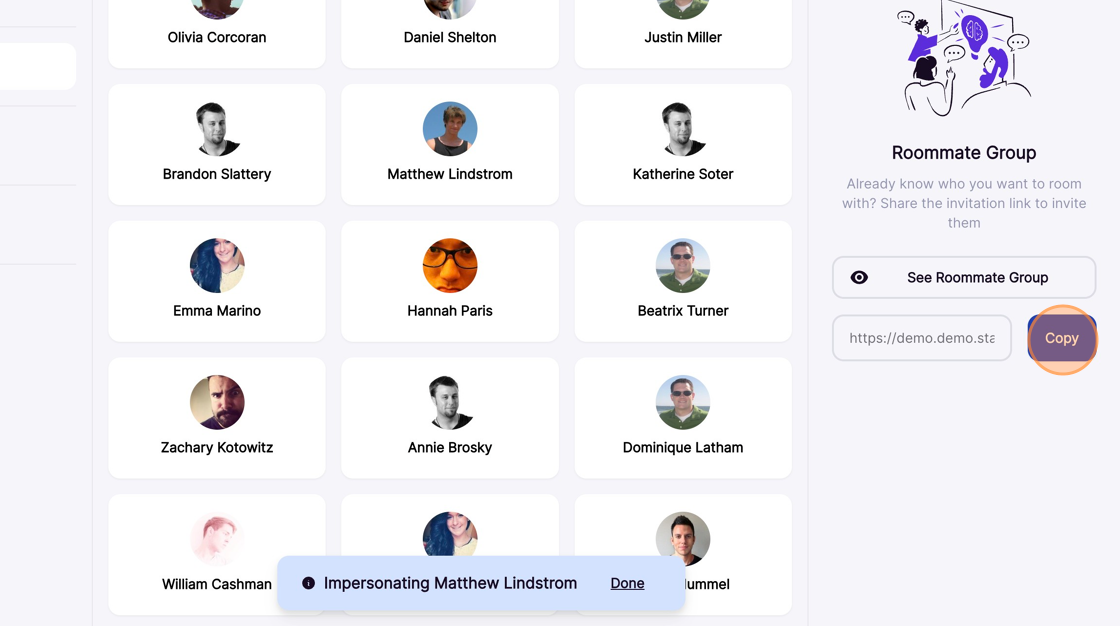
Create a Roommate Group
Click Create Roommate Group to form the group.

Click Copy to generate and copy a unique invitation URL.
Your institution may provide contact details like email or social media in student profiles. Click a profile card to view available contact methods. Learn more about finding and contacting potential roommates here.

Manage Your Roommate Group
As roommates accept the invitation, they will appear on the Roommate Group Overview page. The group leader has access to specific management options, including assigning a new group leader or removing a member from the group.
Click See Roommate Group to manage group members.

Click the three-dot button next to a group member to either make them the group leader or remove them from the group.

Click Delete Group to dissolve your group. Deleting the group will return all members to individual status.

Next: Selecting a Room
Once a roommate group is formed, the group leader is responsible for selecting a room for the entire group. If you are not in a roommate group, you can book an individual bed unless your institution has restricted this option. Learn more about selecting a room here.