Creating and managing global meal plans is the foundation of your meal plan program. Meal plans created here become available to add to specific housing cycles, where you configure selection windows, visibility rules, and billing settings.
You'll need the manageMealPlans permission. After creating meal plans here, you must add them to housing cycles to make them visible to students.
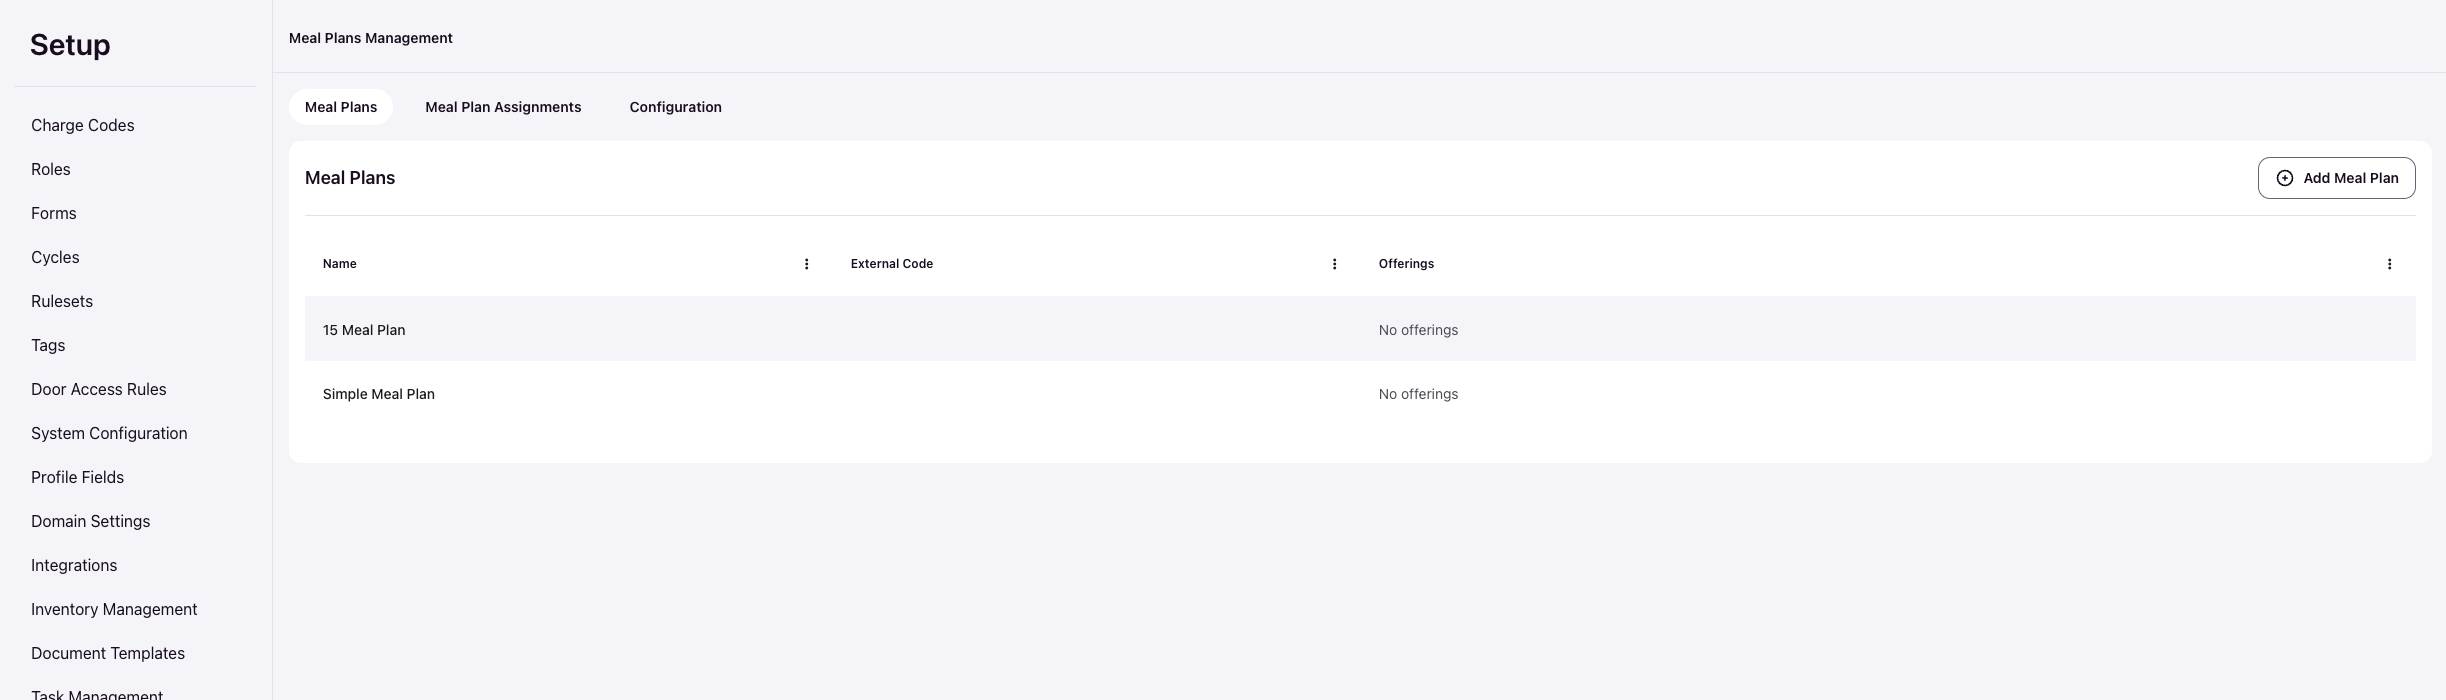
Navigate to Meal Plans Management
From the Admin Dashboard, navigate to Setup > Meal > Meal Plans Management.
This page displays all global meal plans created for your organization. These plans exist independently of housing cycles until you associate them.
Create a Meal Plan
Click Add Meal Plan to open the meal plan creation form.
Meal plans cannot be deleted after creation to preserve historical data integrity. You can edit details at any time, but the meal plan record remains permanent.
Enter Plan Name
Create a Name that clearly identifies the meal plan for administrators and students. This name will appear in all administrative interfaces and student portals.
Add Details
Use the Details field to explain the meal plan benefits, meal swipe counts, or other information students need to make their selection. This description appears in the Resident Portal during the selection process.
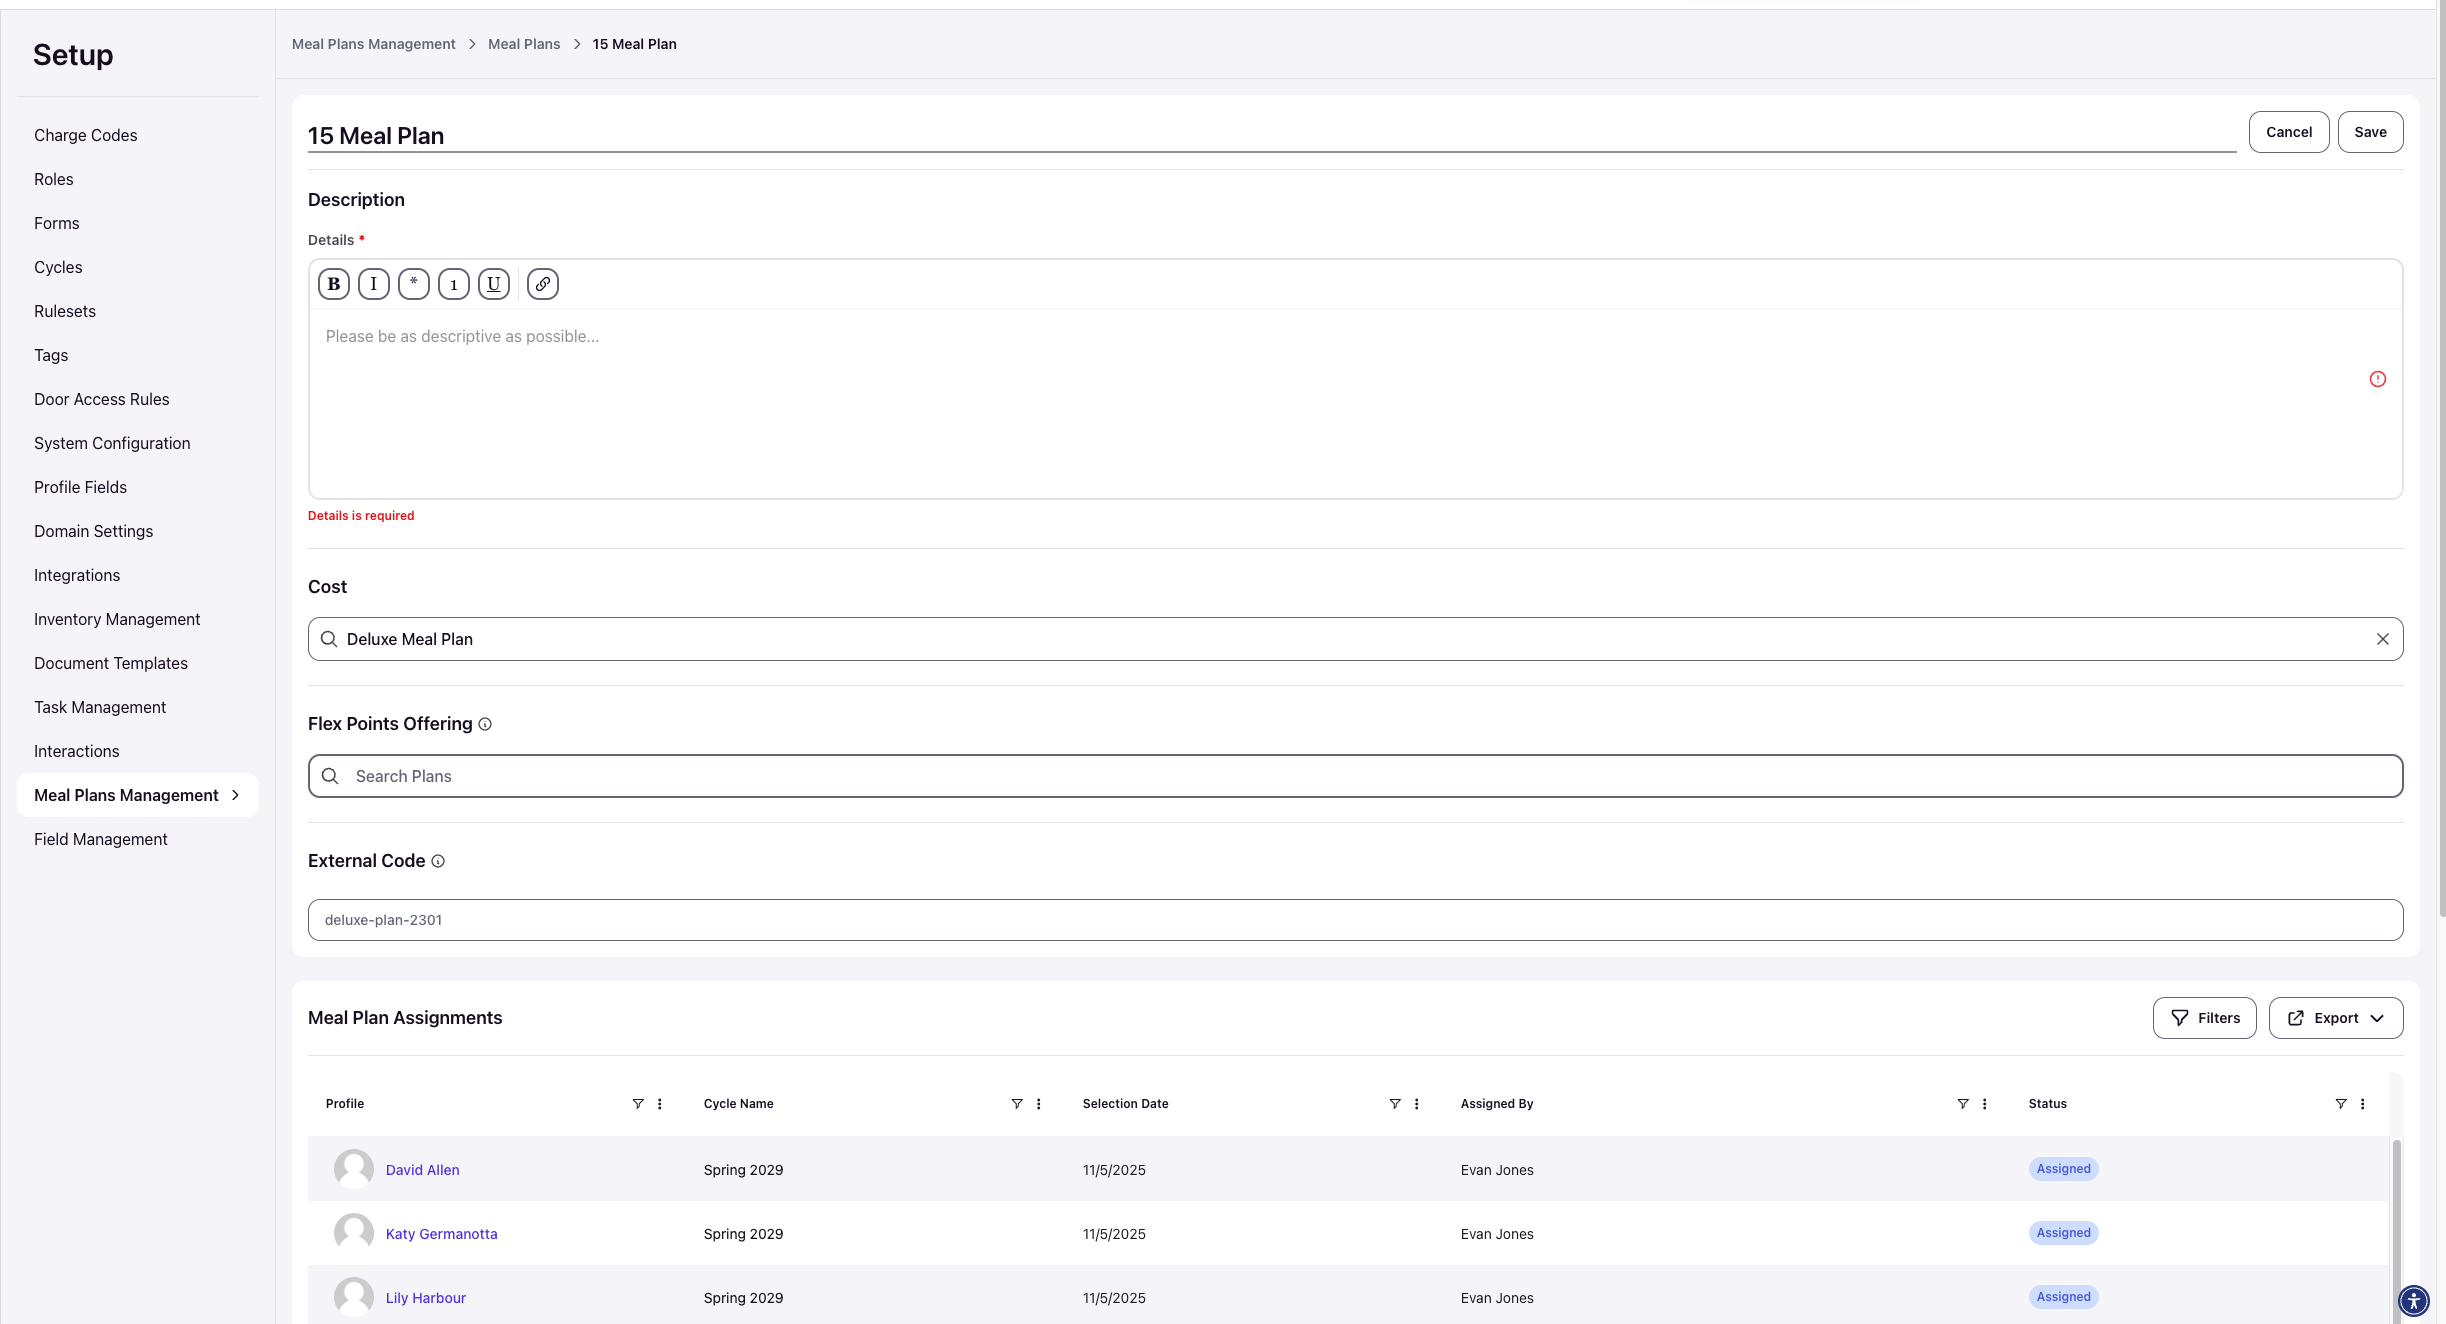
The Details field supports rich text formatting including bold, italic, lists, and links. Be as descriptive as possible to help students understand what they're selecting.
Select Cost (Optional)
In the Cost field, select the Charge Code associated with this meal plan. Charge codes link to your institution's Student Information System for proper billing integration.
If no charge code is selected, no cost will display to students during selection.
Configure Flex Points Offering (Optional)
Flex Points Offering lets you automatically purchase Flex Points plans when a student selects this meal plan. Use the search box to find and add Flex Points plans.
This is optional and only needed if you want to bundle Flex Points with the meal plan selection.
Set External Code
External Code must match the meal plan identifier in your Student Information System for integration purposes. This ensures meal plan assignments sync correctly to your SIS for billing and reporting.
Meal plan assignments cannot be pushed to your SIS if no external code is associated with the plan. Verify this code matches your SIS configuration exactly.
Save the Meal Plan
Click Save to create the meal plan. The new plan will now appear in your Meal Plans Management table and become available to add to housing cycles.
Add Meal Plan to Housing Cycles
After creating a global meal plan, you must add it to specific housing cycles before students can see or select it. Navigate to Setup > Housing Cycles > select your cycle > Meal Plans tab.
This is where you configure the actual selection window, visibility rules, applicability tags, and other cycle-specific settings. Students will only see meal plans that have been added to their housing cycle with active selection dates.
For complete instructions on configuring meal plan selection windows and visibility, see Configure Meal Plan Selection.
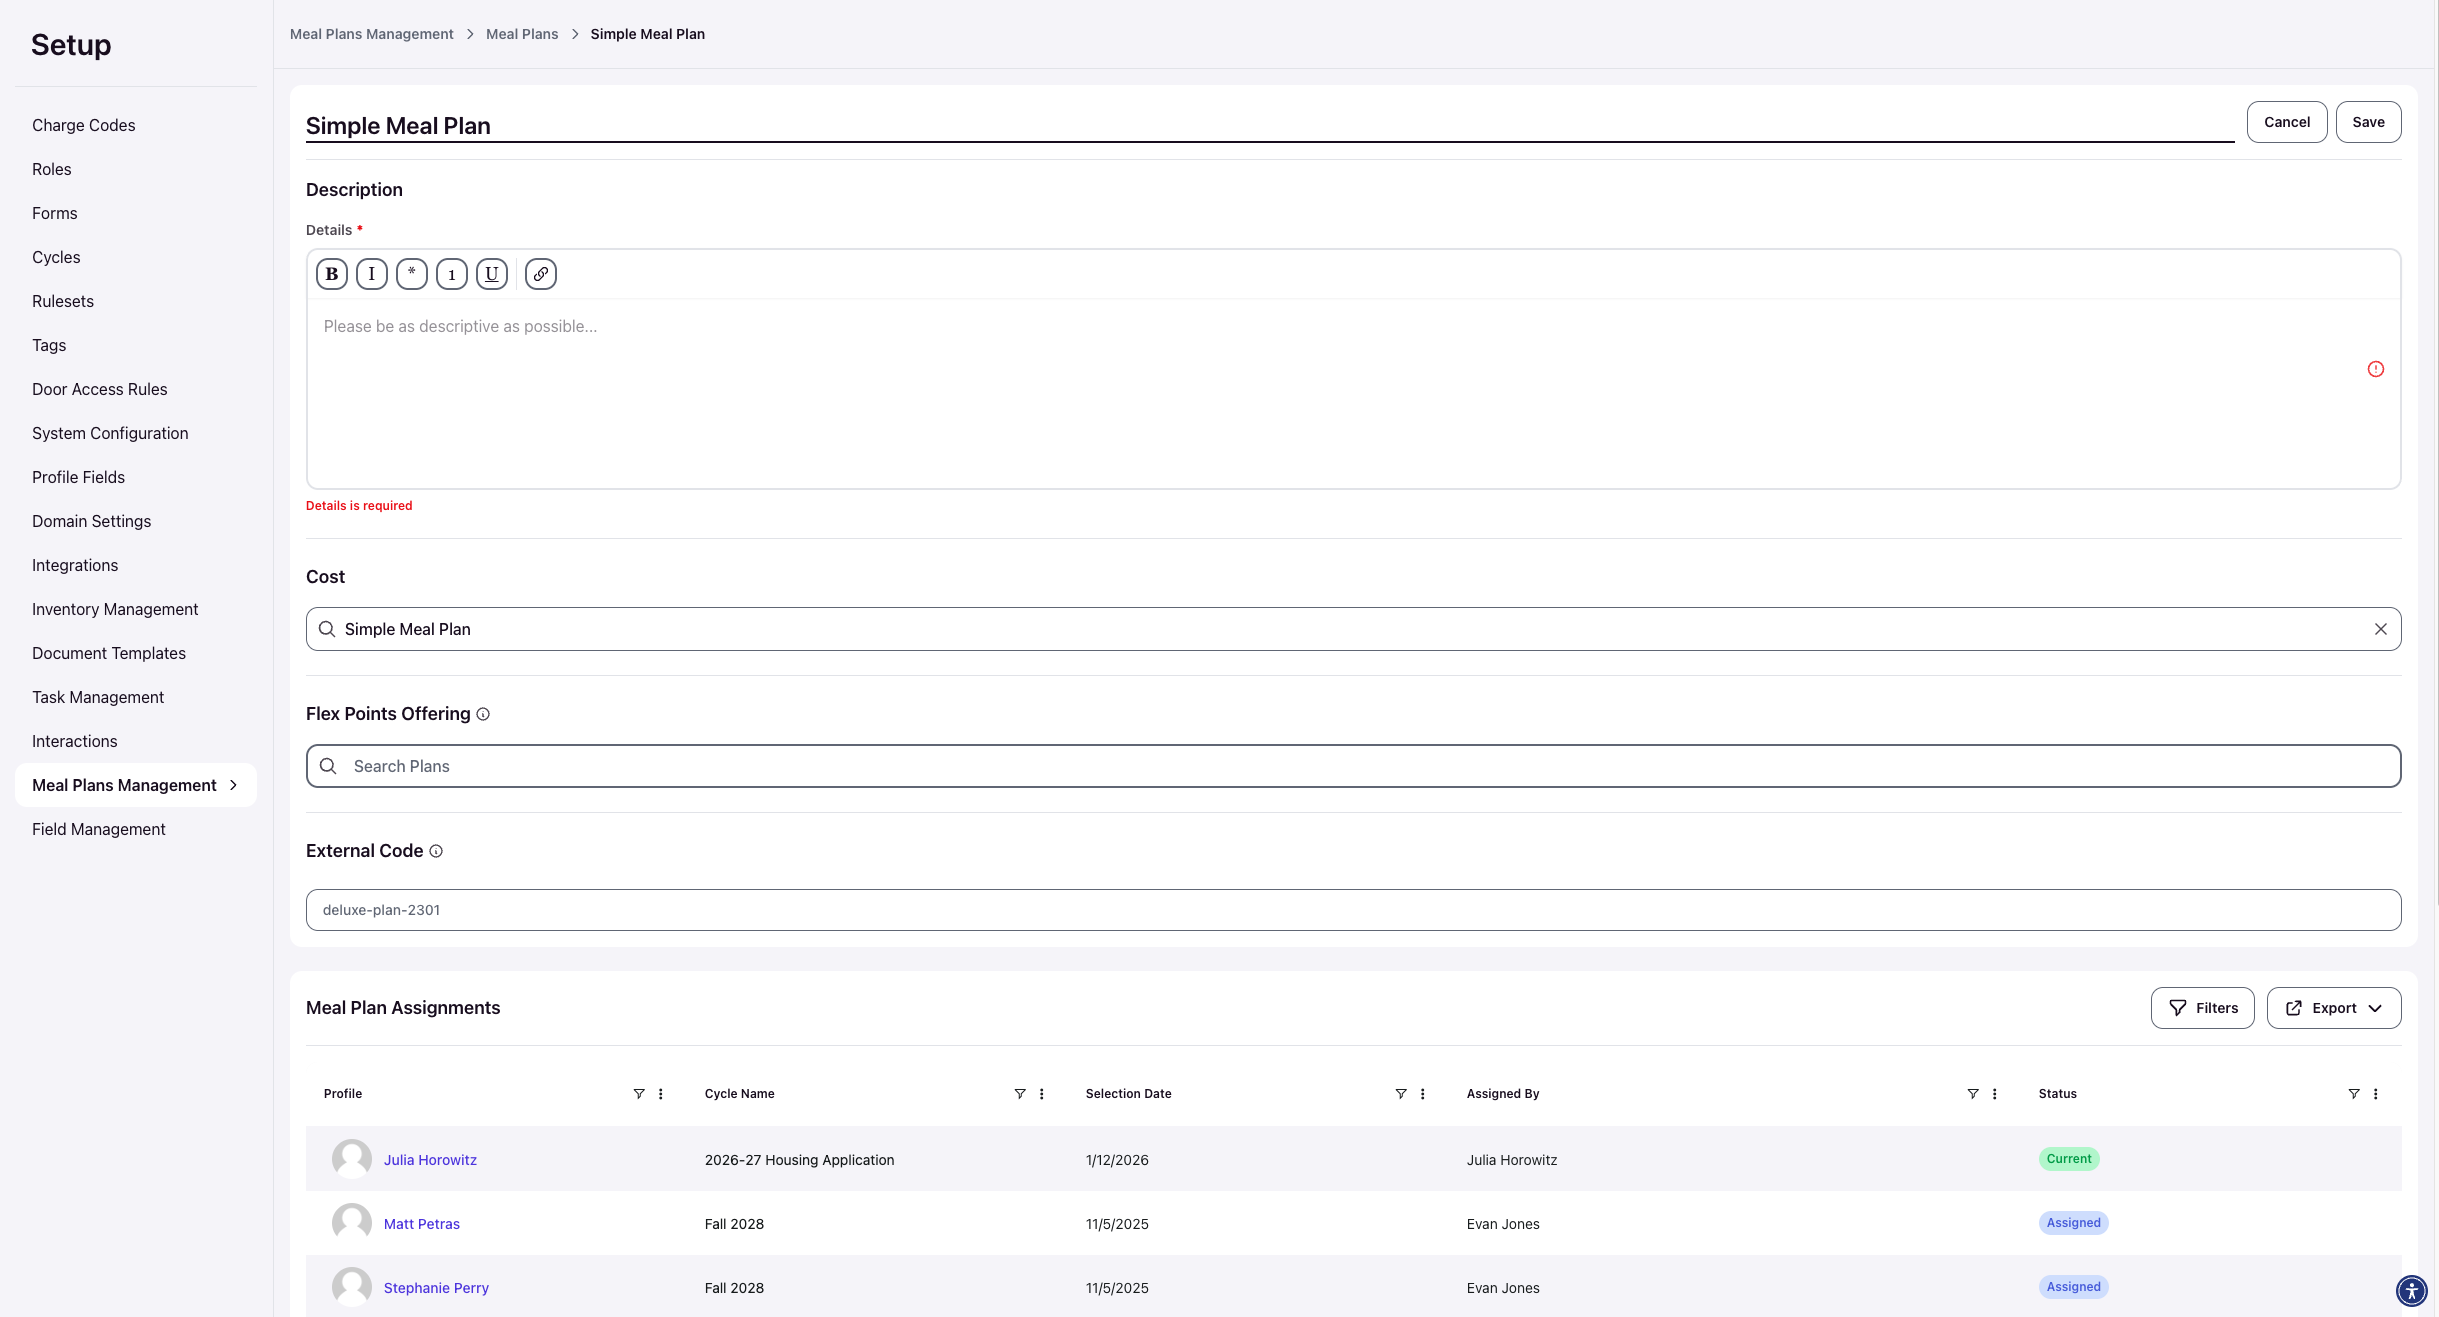
Edit an Existing Meal Plan
From the Meal Plans Management page, click the name of the meal plan you want to modify. This opens the meal plan detail view.
Click Edit in the top right to enable editing mode.
All fields can be modified: Name, Details, Cost, Flex Points Offering, and External Code. Make your changes and click Save to finalize updates.
Changes to global meal plan details (like description or cost) will reflect immediately for all housing cycles where the plan is used. Changes to selection windows or visibility rules must be made within each housing cycle's Meal Plans configuration.
Verify Meal Plan Setup
After creating and editing meal plans, verify that:
The meal plan appears in Setup > Meal > Meal Plans Management
Charge codes are correctly associated for billing integration
External codes match your SIS meal plan identifiers
Details provide clear information for student decision-making
The plan has been added to relevant housing cycles with configured selection dates
Students will see meal plans in their Resident Portal under Meal Plans only during the active selection window configured in their housing cycle, and only if they meet all visibility requirements.